> ## Documentation Index
> Fetch the complete documentation index at: https://docs.ntop.com/llms.txt
> Use this file to discover all available pages before exploring further.
# How to Create Surface Masks
Follow the steps below to generate surface masks for covering exterior faces for remanufacturing.
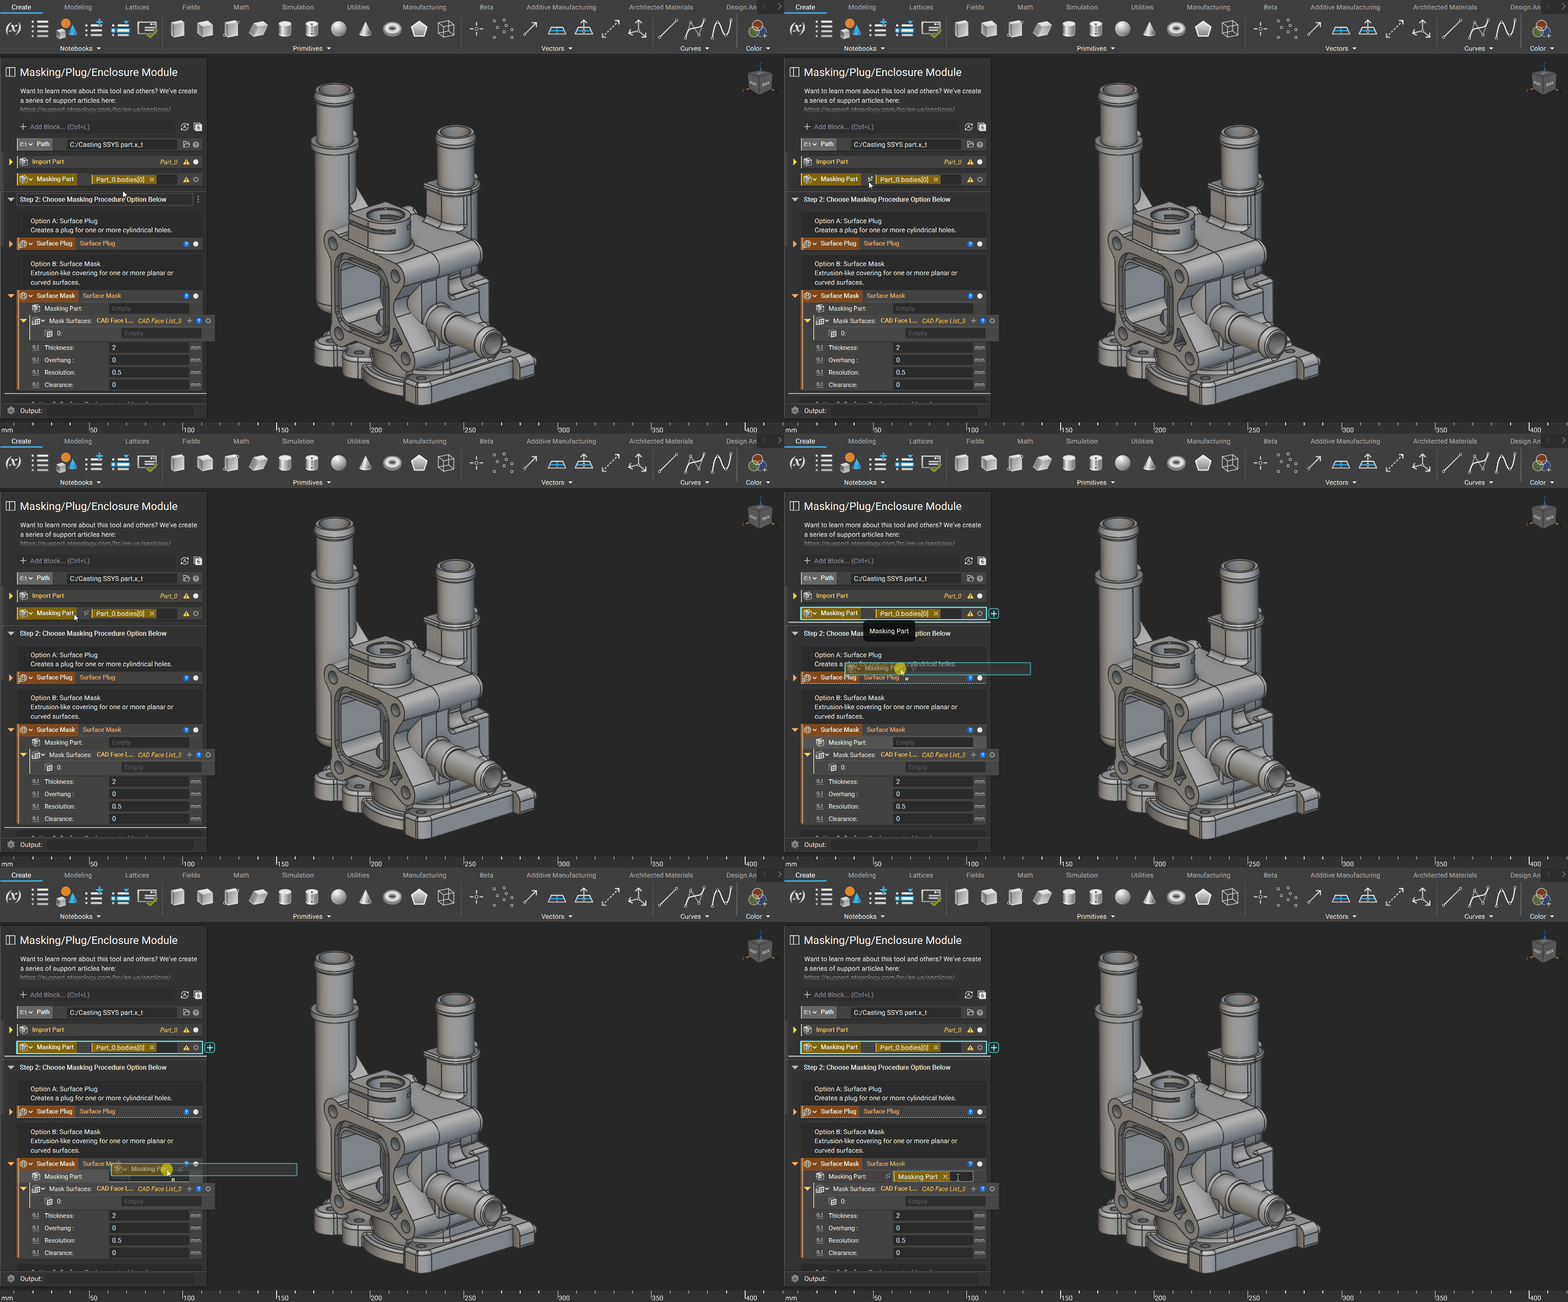
## Step 1: Import CAD and Drag into Part Input of the Surface Mask block
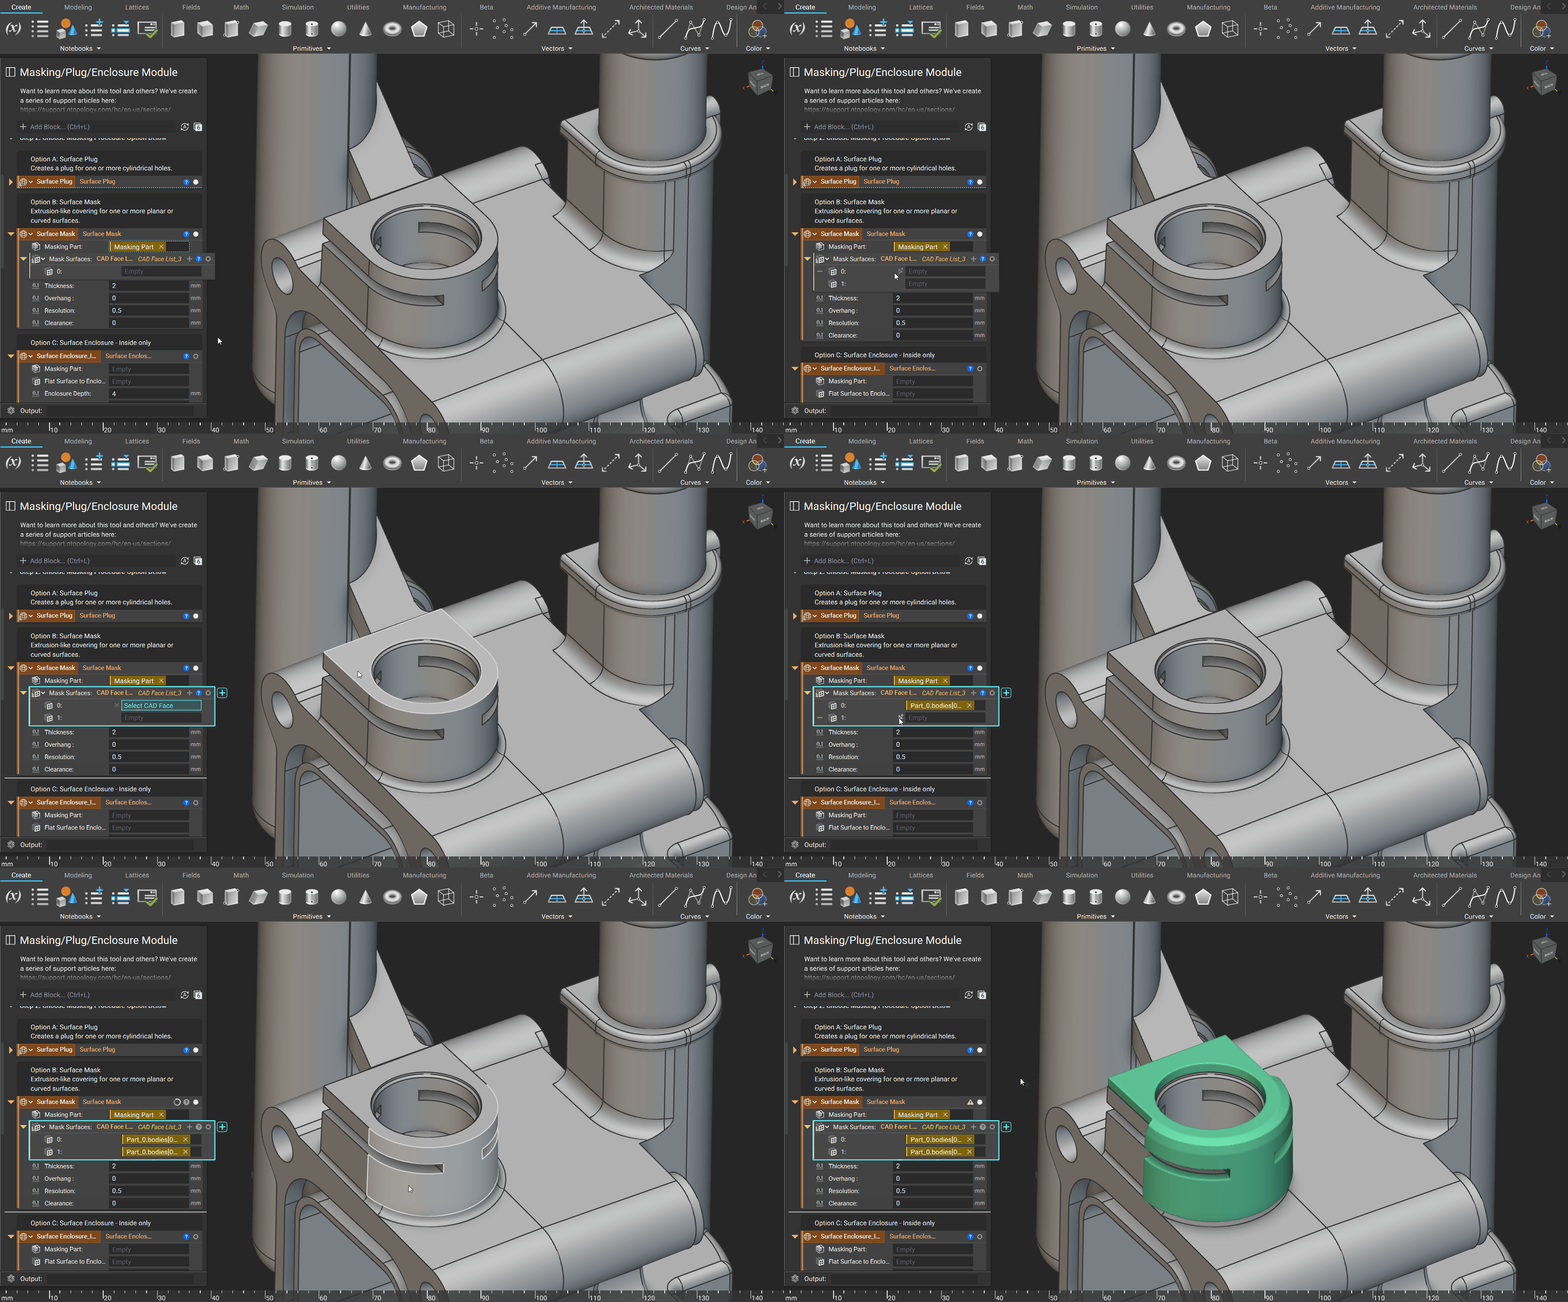
 ## Step 2: Select Surfaces you wish to mask
 ## Adjustable Inputs
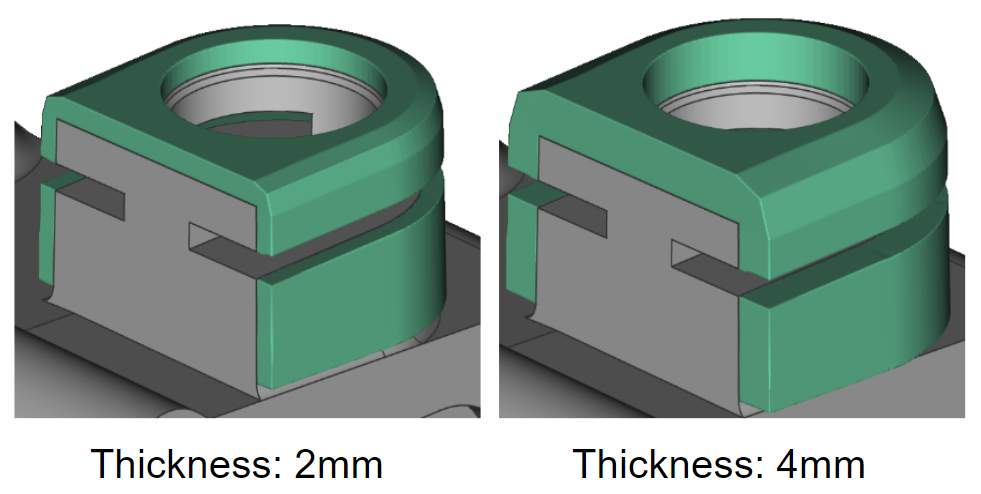
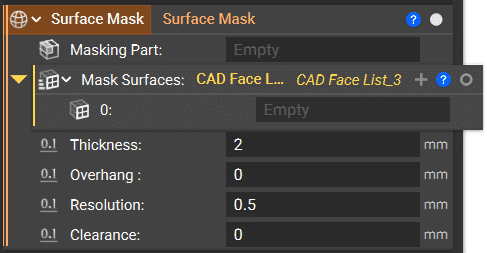 The thickness of the mask is measured from the normal face.
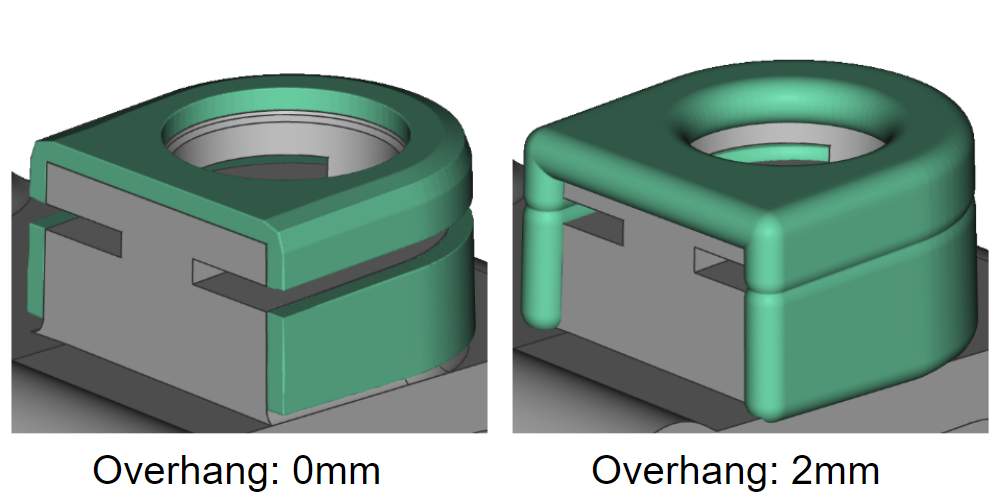
 The Overhang is the extension of the mask beyond the surface boundary.
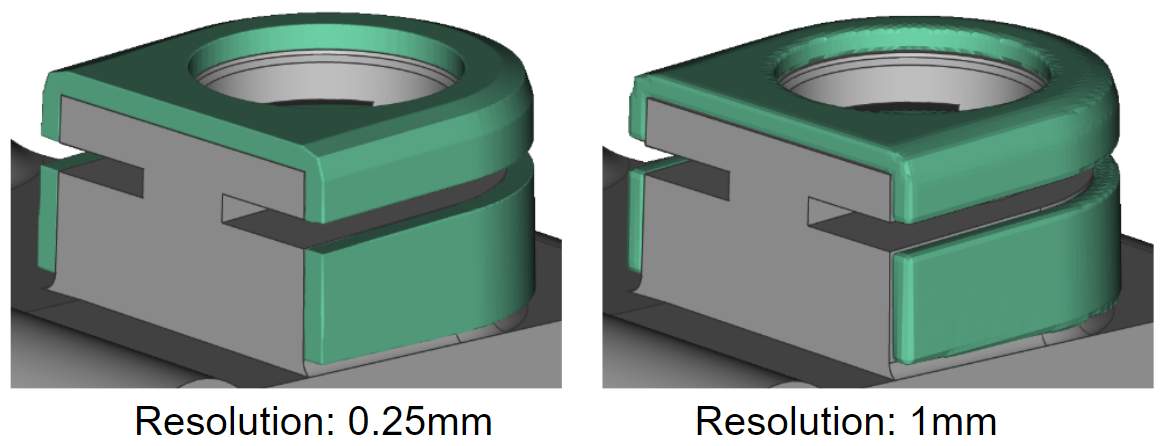
 The Resolution is the smallest feature nTop will recognize.
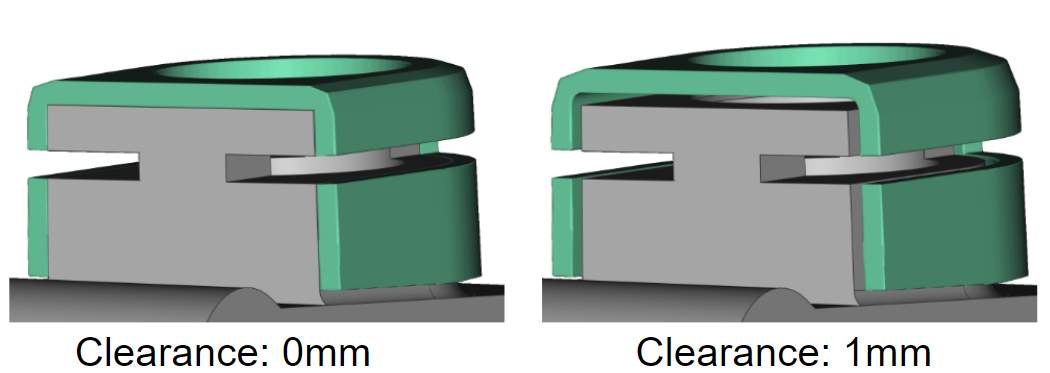
 The Clearance is the space between the final part and the mask surfaces.