> ## Documentation Index
> Fetch the complete documentation index at: https://docs.ntop.com/llms.txt
> Use this file to discover all available pages before exploring further.
# Optional: Print Prep and Slicing Problem Statement
Now that you know how to run slice a part in nTop, feel free to try this optional problem with a review of the answer in the following lesson.
## Problem Statement
Given the starting geometry in the file linked below, please arrange the implicit bodies labeled “Lattice Bracket,” “Gear,” and “Bracket” using the **Bounding Box 2D Nesting** block explained earlier in this Course.
* There should be a 10mm *Part to Part Offset*, 1mm *Perimeter Offset*, and no *Platform Offset*.
* Use the **Orient Object** block to place the Torus implicit body in an open space on the build plane.
* Once you arrange the parts, please slice the parts with a 1mm layer height and 0.5mm feature size and export the slices to a Renishaw 3D Printer in ASCII Format.
* Please use the printer build volume in the “Printer Information” section of the starter file.
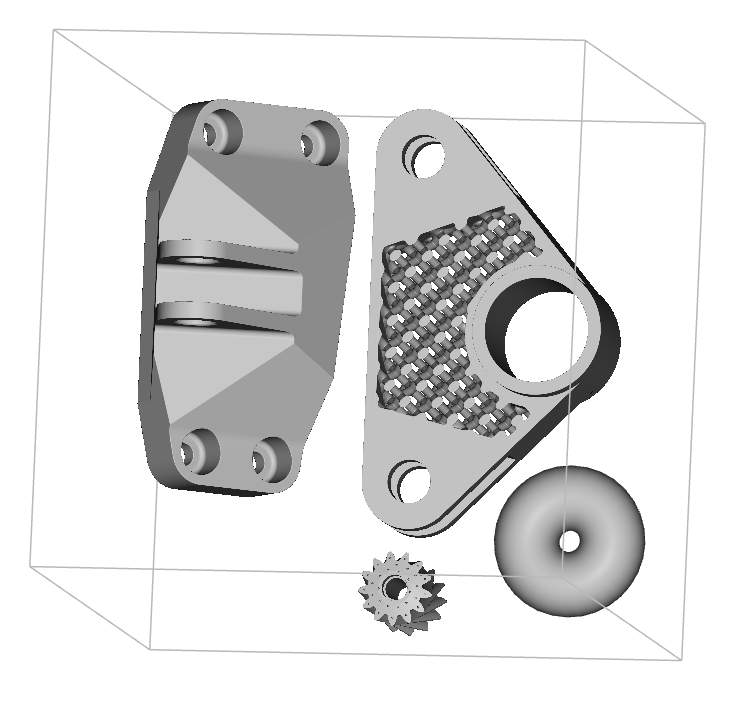 \*\*Estimated Time to Complete:\*\*20 minutes
**Tip:**
If you are working with multiple lists, you may want to check out our lesson on List Manipulation in [230: Intro to Automation](/courses/230-intro-to-automation/) course.
If the slice does not look clean, try changing the frame.
**Example File:**
[250\_17\_1 Starter — Print Prep & Slicing Problem.ntop](https://files.learn.ntop.com/Courses/250%20Slicing%20and%20Print%20Layout/nTop%20Files/250_17_1%20Starter%20--%20Print%20Prep%20%26%20Slicing%20Problem.ntop)
*This file was last updated in nTop 5.15.2*
\*\*Estimated Time to Complete:\*\*20 minutes
**Tip:**
If you are working with multiple lists, you may want to check out our lesson on List Manipulation in [230: Intro to Automation](/courses/230-intro-to-automation/) course.
If the slice does not look clean, try changing the frame.
**Example File:**
[250\_17\_1 Starter — Print Prep & Slicing Problem.ntop](https://files.learn.ntop.com/Courses/250%20Slicing%20and%20Print%20Layout/nTop%20Files/250_17_1%20Starter%20--%20Print%20Prep%20%26%20Slicing%20Problem.ntop)
*This file was last updated in nTop 5.15.2*