Custom Blocks
Any Notebook with a defined Output can be repackaged into a single, customized block, complete with custom inputs and descriptions. This is one of the most powerful features of nTop because it enables you to package the work of one of your entire file’s notebooks into one block, for the purpose of creating a fast way to replay the entire step by step process recorded in that notebook. The new custom block can be saved and then reused in other files, or shared with other nTop users. Users can author their own blocks that contain more than one function. Custom blocks can be used inside other custom blocks. There are two methods for creating custom blocks, an external method and an internal method.Direct Custom Block Creation (Internal)
We made enhancements to make Custom Blocks more accessible, allowing you to create Custom Blocks directly in your nTop instance. In addition, the Imported Blocks menu now resides in the Imports tab of the left-hand sidebar instead of in a pop-up window to the right of the notebook. What it does: Once you select “Create New Custom Block” in the imports tab of the left-hand sidebar, it will bring you inside a new notebook where you can create your Custom Block. Once created, you can select the “Back” icon and so long as your Custom Block is valid, it will be automatically added to the original notebook. Tips:- All Custom Blocks created within a nTop file are internalized - changes will only be reflected in the currently open file. If you want the Custom Block to be externalized, export the Custom Block to a directory and import it into other files.
Creating Custom Blocks (External)
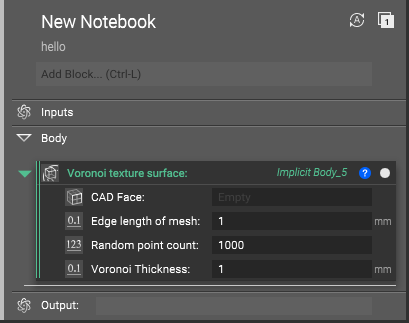
- In nTop, create a workflow in the “Body” of a new notebook.
- Identify the parameters that will serve as Inputs to the custom block and move them to the “Inputs” section of the notebook. Drag and drop Variables into the Inputs section or right click and select “Make model input” to move to-be variables out of the body into the Inputs section.
- Identify the output that will be accessible once compiled into a custom block. To add an output, drag the block containing the output into the “Output” section of the notebook or alternatively type the object’s name in the Output section text field. Both of these methods will produce an output variable chip.
- Name your custom block by double clicking the name at the top of the notebook. This is independent from the nTop file name.
Importing Blocks
- Launch a new instance of nTop and import the custom block by going to File > Import and selecting the corresponding nTop File.
- Launch the Imported Block window in an instance of nTop, by going to Window > Imported Blocks or by selecting the Imported Blocks icon in the notebook header, and click on “Import Block” to select the corresponding nTop File.
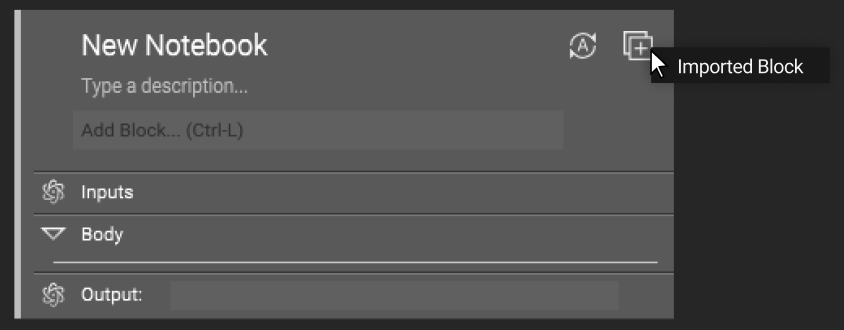
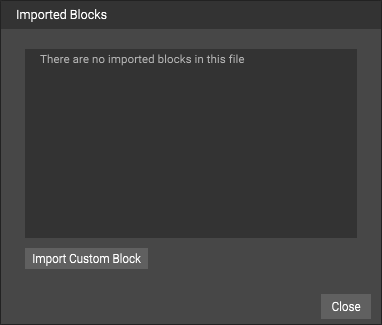
- When successfully imported, the block will appear in the notebook and the number on the icon will update to reflect the total number of imported blocks in the file
- From the search bar at the top of the notebook, add the custom block to the notebook by searching for its name.
Deleting Unused Blocks
- Delete unused blocks from your file by right clicking on the name in the imported block manager and select delete.
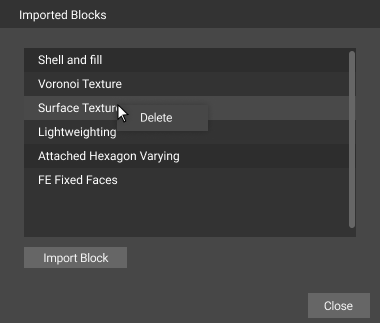
- A block can only be deleted if it is not used in the notebook.
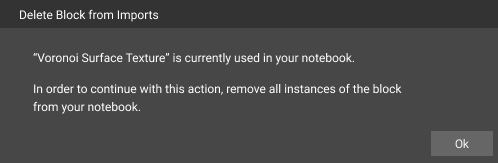
- If a user tries to delete a block that is in the Notebook, an error message will appear stating that all instances of that block in the notebook need to be deleted first.