
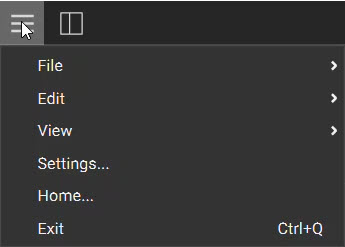
File
New (Ctrl+N): Creates a new nTop file in the current instance of nTop. If you have unsaved work, a prompt appears asking if you want to save or delete the work. Open (Ctrl+O): Opens an existing nTop file. If you have unsaved work, a prompt appears asking if you want to save or delete the work. Open Recent : Allows you to select a file from the ten most recent files you’ve opened. Save (Ctrl+S): Saves your nTop file. Save As (Ctrl+Shift+S): Allows you to save a copy of the file in a new location or with a different name. Import (Ctrl+I): Brings an object, part, or data into your nTop file. Click here to see what files can import into nTop. My Blocks Folder: Opens File Explorer to show your My Blocks Folder to manage your custom blocks. Settings: Opens the Settings menu. Home: Opens up the Home screen. Exit (Ctrl+Q): Closes nTop.Edit
Undo (Ctrl+Z): Allows you to cancel or reverse the last command. Redo (Ctrl+Shift+Z): Allows you to cancel or reverse an Undo. Cut (Ctrl+X): Deletes the original instance and creates a Copy (to be pasted elsewhere). Copy (Ctrl+C): Save the instance of that Block (to be pasted elsewhere). You can copy and paste blocks between Notebooks. Paste (Ctrl+V): Creates the Copied or Cut block in a specified location. References are not copied. You can copy and paste blocks between Notebooks. Paste with References (Ctrl+Alt+V): Creates the Copied or Cut block in a specified location with all its references. You can copy and paste blocks between Notebooks. Select All Visible (Ctrl+A): Highlights and selects all blocks that have their visibility toggled on.View
Camera Settings: Choose between an Orthographic view or a Perspective view. There is no Ruler available in the Perspective view. Named Views: Saves the orientation and zoom distance of your viewport.- Navigate to the orientation you want and select ‘New Named View’ to save it.
- Double click on the Named View to rename it.
- Right click on the Named View to rename, update, or delete it.
- Select Export to save the image
- Section cut bodies do not work with Capture Image.
- Select an Implicit Body block and press Ctrl+H (or this button in the view settings) to create a Precise Render.
- Precise Render only works with Implicit Bodies. No result appears for other model formats.
- Section cut bodies do not work with Precise Render.
- You can read more about Precise Render here.