Adding Blocks
To add a block, select it from the Ribbon, use the search bar at the top of the Notebook, or use the Search in Place feature. To quickly search and add a new block to the Notebook, use the shortcut Ctrl + L to go to the search bar or S to open up Search in Place.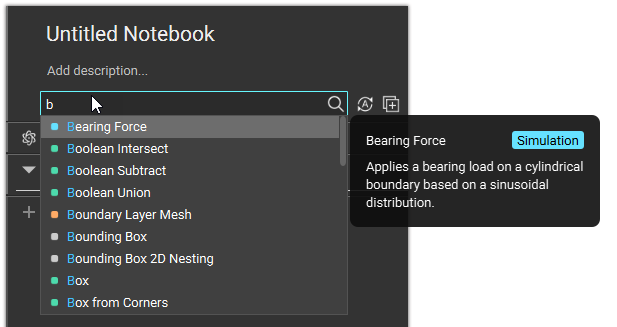
- Use the Search in Place feature to add blocks or sections from anywhere in the Notebook.
- Once you already have a block in the Notebook, you can use the Context Search to quickly nest blocks.
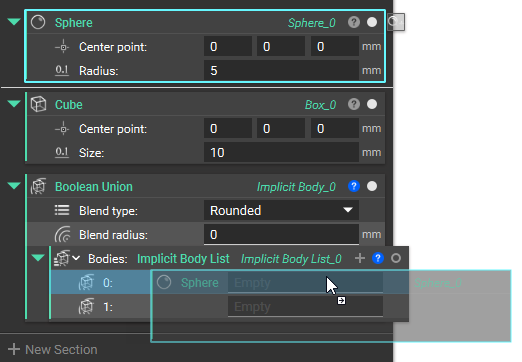
- You can add blocks directly into an input by searching for the Block Name in the input.
- Select the input and start typing to search.
- Double-click instead of typing in an input to see a list of blocks that are already in the Notebook appear at the top of the search list. This is useful if you aren’t sure what block you need next.
Selecting Blocks
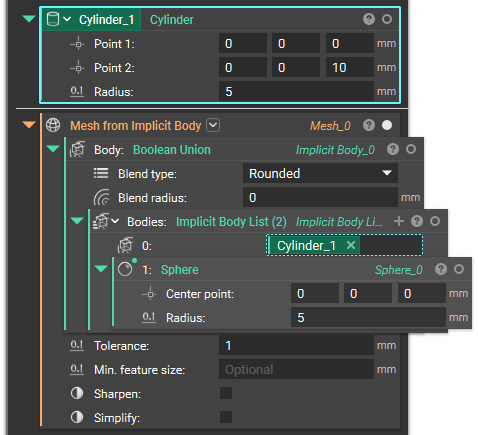
A selected block has a blue highlight. If the block has an output that appears in the Viewport, it will also have a blue highlight. Hold down CTRL and Left-click blocks to select multiple blocks at once. When you select a block, it also highlights all the blocks where it is used as an input with a blue dotted line.
- If the block is in a collapsed state, it underlines the block with a blue dotted line.
- If the block is in a collapsed section, if highlights the section it is in with a blue dotted line.
 If the block isn’t collapsed, it highlights the input where the selected block is used with a blue dotted line.
Navigating Blocks
Find where an input came from by using the “Go to” function. What it does: Allows you to go to the source location of its instanced chip in the Notebook by right-clicking directly on the chip and selecting “Go To Block.” How to use it:- Activate it from a chip instance of a variable, variable property, and non-variable property.
- Activate it on the chip, the input panel, or the input section of the block that contains the chip.
- If the source reference is within a collapsed section, it will un-collapse the section.
Renaming Blocks
To rename a block, double click on the block instance name in the upper right corner of the block. If you’ve converted a block or set of nested blocks into a variable, double click on the variable name located in the upper left corner of the block. To rename quickly, use the shortcut F2 on your keyboard.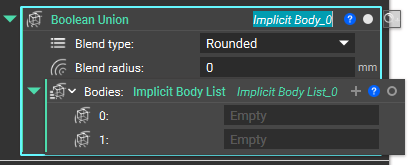
Moving Blocks
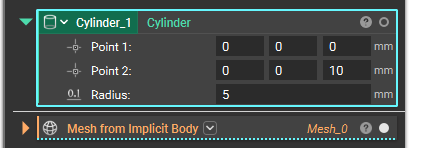
Blocks can be reordered in the Notebook by dragging above or below other blocks. The space between blocks is highlighted blue to show the new position. The order of the blocks in the Notebook has no effect on the block’s output.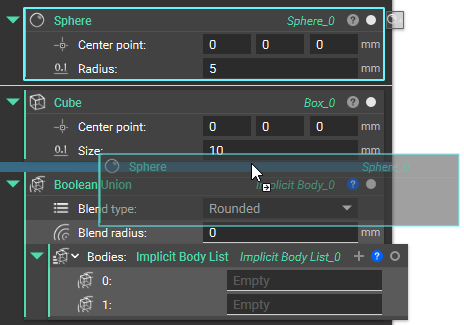 Blocks can also be used as inputs into other blocks, and they will become nested inside the Notebook. The input parameter field will highlight blue if the parameter accepts the block type as an input.
Copying Blocks
Cut, Copy, and Paste
Cut, Copy, and Paste single blocks or multiple blocks at one time. Once the blocks are on the clipboard, they can be pasted into:- the Notebook
- Compatible block inputs
- A separate instance of nTop (a different Notebook)
Duplicate
Makes a copy of the block and a copy of all blocks nested within that block. In this case, think of Duplicate as “copy block and nested blocks”. Duplicate won’t make copies of variable chips. It creates a whole new block and new nested blocks. In the gif above, you can see how Implicit Body_0 becomes Implicit Body_0_copy and Sphere_0 becomes Sphere_0_copy. This is useful when you want to copy a block and be able to change all of the parameters without links back to the original.
- When to use: If you want to copy a block you already have and change its block inputs.
- Duplicate works the same as Copy does, but you can’t duplicate a block from one Notebook to another.
Duplicate with References
Makes a copy of the block but uses the original referenced blocks (referenced blocks aren’t copied). In this case, it creates a copy of the top-level block, but not any of the nested blocks. The nested blocks are the same block as the original, and therefore will update values when one of them is changed. This is useful for changing parameters on the top-level block while keeping the input the same. You can see that Implicit Body_0 became Implicit Body_0_copy while Sphere_0 remained the same. When using this, don’t forget that the referenced inputs are the same to save any mistakes down the road.
- When to use: If you want to copy a block but keep the same block references.
- In both cases, a new block is being created, therefore Duplicate and Duplicate with References are not recommended as a substitute for creating a variable.
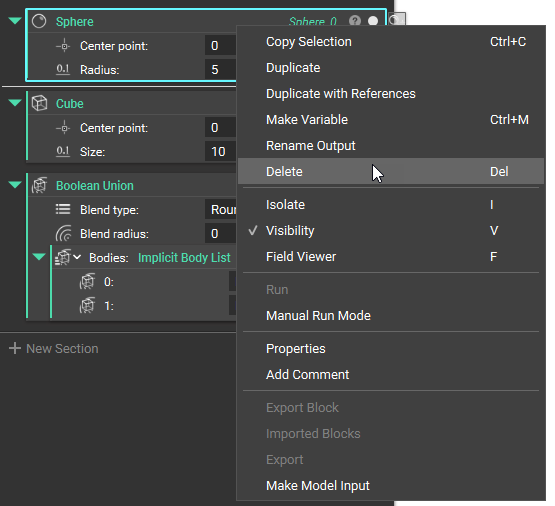
Deleting Blocks
To remove a block, click on a block to select and press the delete key. To select multiple, hold the CTRL key.